Showing posts with label HST. Show all posts

Sunday, September 21, 2025

No. 16

No. 16
50.5" x 40"


This one is another quilt addressing the issue of privacy. Literally, this quilt is about windows, specifically, the extensive use of floor to ceiling glass windows in many new modern houses. If you can see out, then others can see in. I love the idea of being able to see out, and bringing nature into a building (which was the original intent of this style of architecture). But I also really value my privacy. This would not be an ideal house for me. Also, because guns, when I see a house like this, all I can think of is, where do you hide from the bullets? I will leave you to imagine the metaphorical meaning of this work, because it is not obvious. (HINT: Think of the word 'windows' and privacy, and you'll be there!). 

I have been dreaming of this one for a long time, like YEARS, but I couldn't see the whole picture. I wanted fish swimming in a house of floor to ceiling glass windows. Then about 9 months ago, I found a commercially printed paper with koi fish. I KNEW that these would be the fish for the quilt. Except that, they were paper, and I wasn't sure how this was going to work??

I got the courage to go ahead and try moving forward on the project by trying to sketch the house. None of my efforts were working. I drove around Austin looking for the perfect 'model' house to sketch. I did not find it, though I suspect it is out there somewhere. Then I decided to look online for some ideas. I found these 3. 

None were perfect, or had the right angles, so I just jumped in and tried making a perspective drawing of a house in my sketchbook. I have never done a perspective drawing before, though I had seen one on social media. I was surprised how easily it all came together. Then I had to upscale the drawings for each room to make a pattern. 
Here is the sketch of the kitchen:

After sketching, I had to decide how to cut this apart and make it into a pattern, and which pieces would be sewn together first? I wanted to minimize the Y seams because those are more challenging. I used colored pencils to outline the shapes that would be sewn together as a group. Then I cut the sketch apart...labeled the pieces, and selected the fabrics for each piece.
This part feels a little daunting. However, a friend reminded me that I have done projects with more pieces, and that helped!

The next step is to trace each piece onto the back of the fabric and then cut them out with a seam allowance. And, it is a little challenging because some of the pieces are small and hard to hold still while tracing around them onto the fabric. One by one, they are stitched together. It would probably have been easier to paper piece this and definitely more accurate, but I find this method to be mentally easier.
After getting the house pieced, and the background, it was time to consider the fish. So, I cut them out and freed them from their backgrounds.
I wasn't sure how many I would need, so I just keep cutting and placing them on the design wall. Ultimately, I decided that this was too many fish!

You can see from this photo that the fish are swimming in FRONT of the house. However, I wanted them placed IN the house, which means they would need to be swimming behind some of the house walls. So, I cut open the seam allowances in the house, where the fish would be, and inserted them in through the new slots. Then I hand stitched the seams to match the size needed for the fish opening. I also needed the fish to stay in place before I got to the quilting part, so I used Mistyfuse on the back side of the fish. Did you know it works great on paper too? Cool! Note: This was a sequence error. It is easier to put Mistyfuse on the fish before cutting them out than afterwards, so trimming the Mistyfuse to the fish body was a bit tedious.

If you look closely, you can see the fish behind the just barely transparent fabric of the door!

Then I started the machine quilting. I was very concerned that the needle holes from the quilting would rip the paper the fish were on. Fortunately it was such a heavy weight of paper that I had no problems! Whew! I did have a very clear vision of how I wanted the quilting lines to look, and it required a lot of stops and starts, which in turn meant a lot of thread tucking.

The other minor parts of the project included some hand applique for the lights in the kitchen, and a bit of satin stitch to define some of the shapes better. This put me on hold for a couple of weeks because I thought I needed some shiny black thread. I did get the thread, but the delivery was SO slow, and my patience for finishing the project was wearing thin. And then the new thread did not perform well in my sample testing, and I ended up using something I already had (which I can not remember now what it was...). That is the way it goes sometimes!
The last little part was the scariest! The fish took a bit of a beating with all the machine quilting from pushing the quilt through the machine so much. I decided to 'fortify' them with a couple of coats of high gloss medium, applied by hand with a small paint brush. I thought about doing it first, but the fish were ironed in place with the Mistyfuse, and I didn't want to try to iron a fish that had medium on the surface. So maybe it all worked out okay? 

I am overall very happy with the way this turned out! It is so satisfying to see an idea become actualized! I entered this quilt into Quilts=Art=Quilts, but it did not get accepted. As happy as it would have been to have my little quilt go out into the world, I am comforted when they get rejected because then I get to look at them a bit longer, and I don't have a lot of shipping expenses. Possibly a warped perspective here, but I am okay with that. I hope you like this one! Thanks for stopping by! 

Monday, June 02, 2025

No. 3

No. 3
25" x 25"

I had several ideas about how to make this one. I opted for drawing a template for each block that had a curve to see how well that works. It worked great! I made the shapes exactly how I was hoping! Sadly, it was so tedious and not fun, that it is unlikely I will want to do this again. That's the way it goes sometimes. However, I LOVE this little quilt. It is so pretty and simple, and it brings me joy!

First step was to draft it on paper. I was worried about getting confused with color on the blocks, so I used some colored pencils to color in the pattern. I also numbered the blocks in hopes it would help reconstruct the pattern, and that did help.

Then I cut the blocks apart. Many of the blocks have no curves, so I could easy construct those with a simple HST method. There were some aqua and black, and some yellow and black. And, the blocks that had a curve were cut along the curve with hatch marks for matching back up during the piecing process. For each little piece, I traced onto a piece of fabric with a pencil. And then I cut each piece out by hand, with scissors, making sure to add 1/4" seam allowance.


These were pinned and pieced, as you might expect...

And after making a set of two, I would place them on a black square block to sew them into HST's. 

The black piece is still one piece of fabric, so it stabilized the stitching while sewing along the diagonal edges. After cutting down the middle, I had two blocks ready to trim and put back on the design wall.

I worked one or two blocks at a time, so that I didn't get confused about their placements. I also anticipated that the paper templates for one quadrant would be able to be used for other quadrants if I flipped or rotated them. Unfortunately, that did not work at all. Only one set of templates was able to be used twice. This meant that I had to finish and cut out the paper templates for the other two quadrants of the overall square composition. The other problem I had, is that when working with solids, and tracing pencil marks on them, it is important to put the pencil marks on the backs of the fabric. And since they are solids, there is no obvious 'back'. I usually just experiment, and either do it wrong first, or get it right. Either way, it requires some thought, and some ....what do you call it? ....remembering.... Ha ha!

I also made changes to the composition after I finished the quilt top. I had planned to make a big circle, like this:

And, I did. But the more I looked at it, the more I wanted to rip it apart in the middle and reposition the halves. So I did that too. And I like it better, thus, the finished piece at the top.

The last part was the quilting. I have an irritation fear of quilting. I never believe that I can actually do it, and have it look good...which makes it hard to start. Regardless of my successes and years of practice, this fear is my nemesis. I confess that I was eventually able to start, and it was challenging, but it all worked out. I love the circular lines in the yellow section, and the contrast of the straight lines in the blue section. I also frequently annoy myself with the quilting design by coming up with something that requires a lot of stops and starts and thread tucking. But it all works out! And it was nice to try this on a small quilt because it was so much easier to push through the machine. It was also fun to finish something so quickly after years of making big pieces that take a lot longer. 

Sunday, May 25, 2025

No. 2

No. 2
45" x 45"


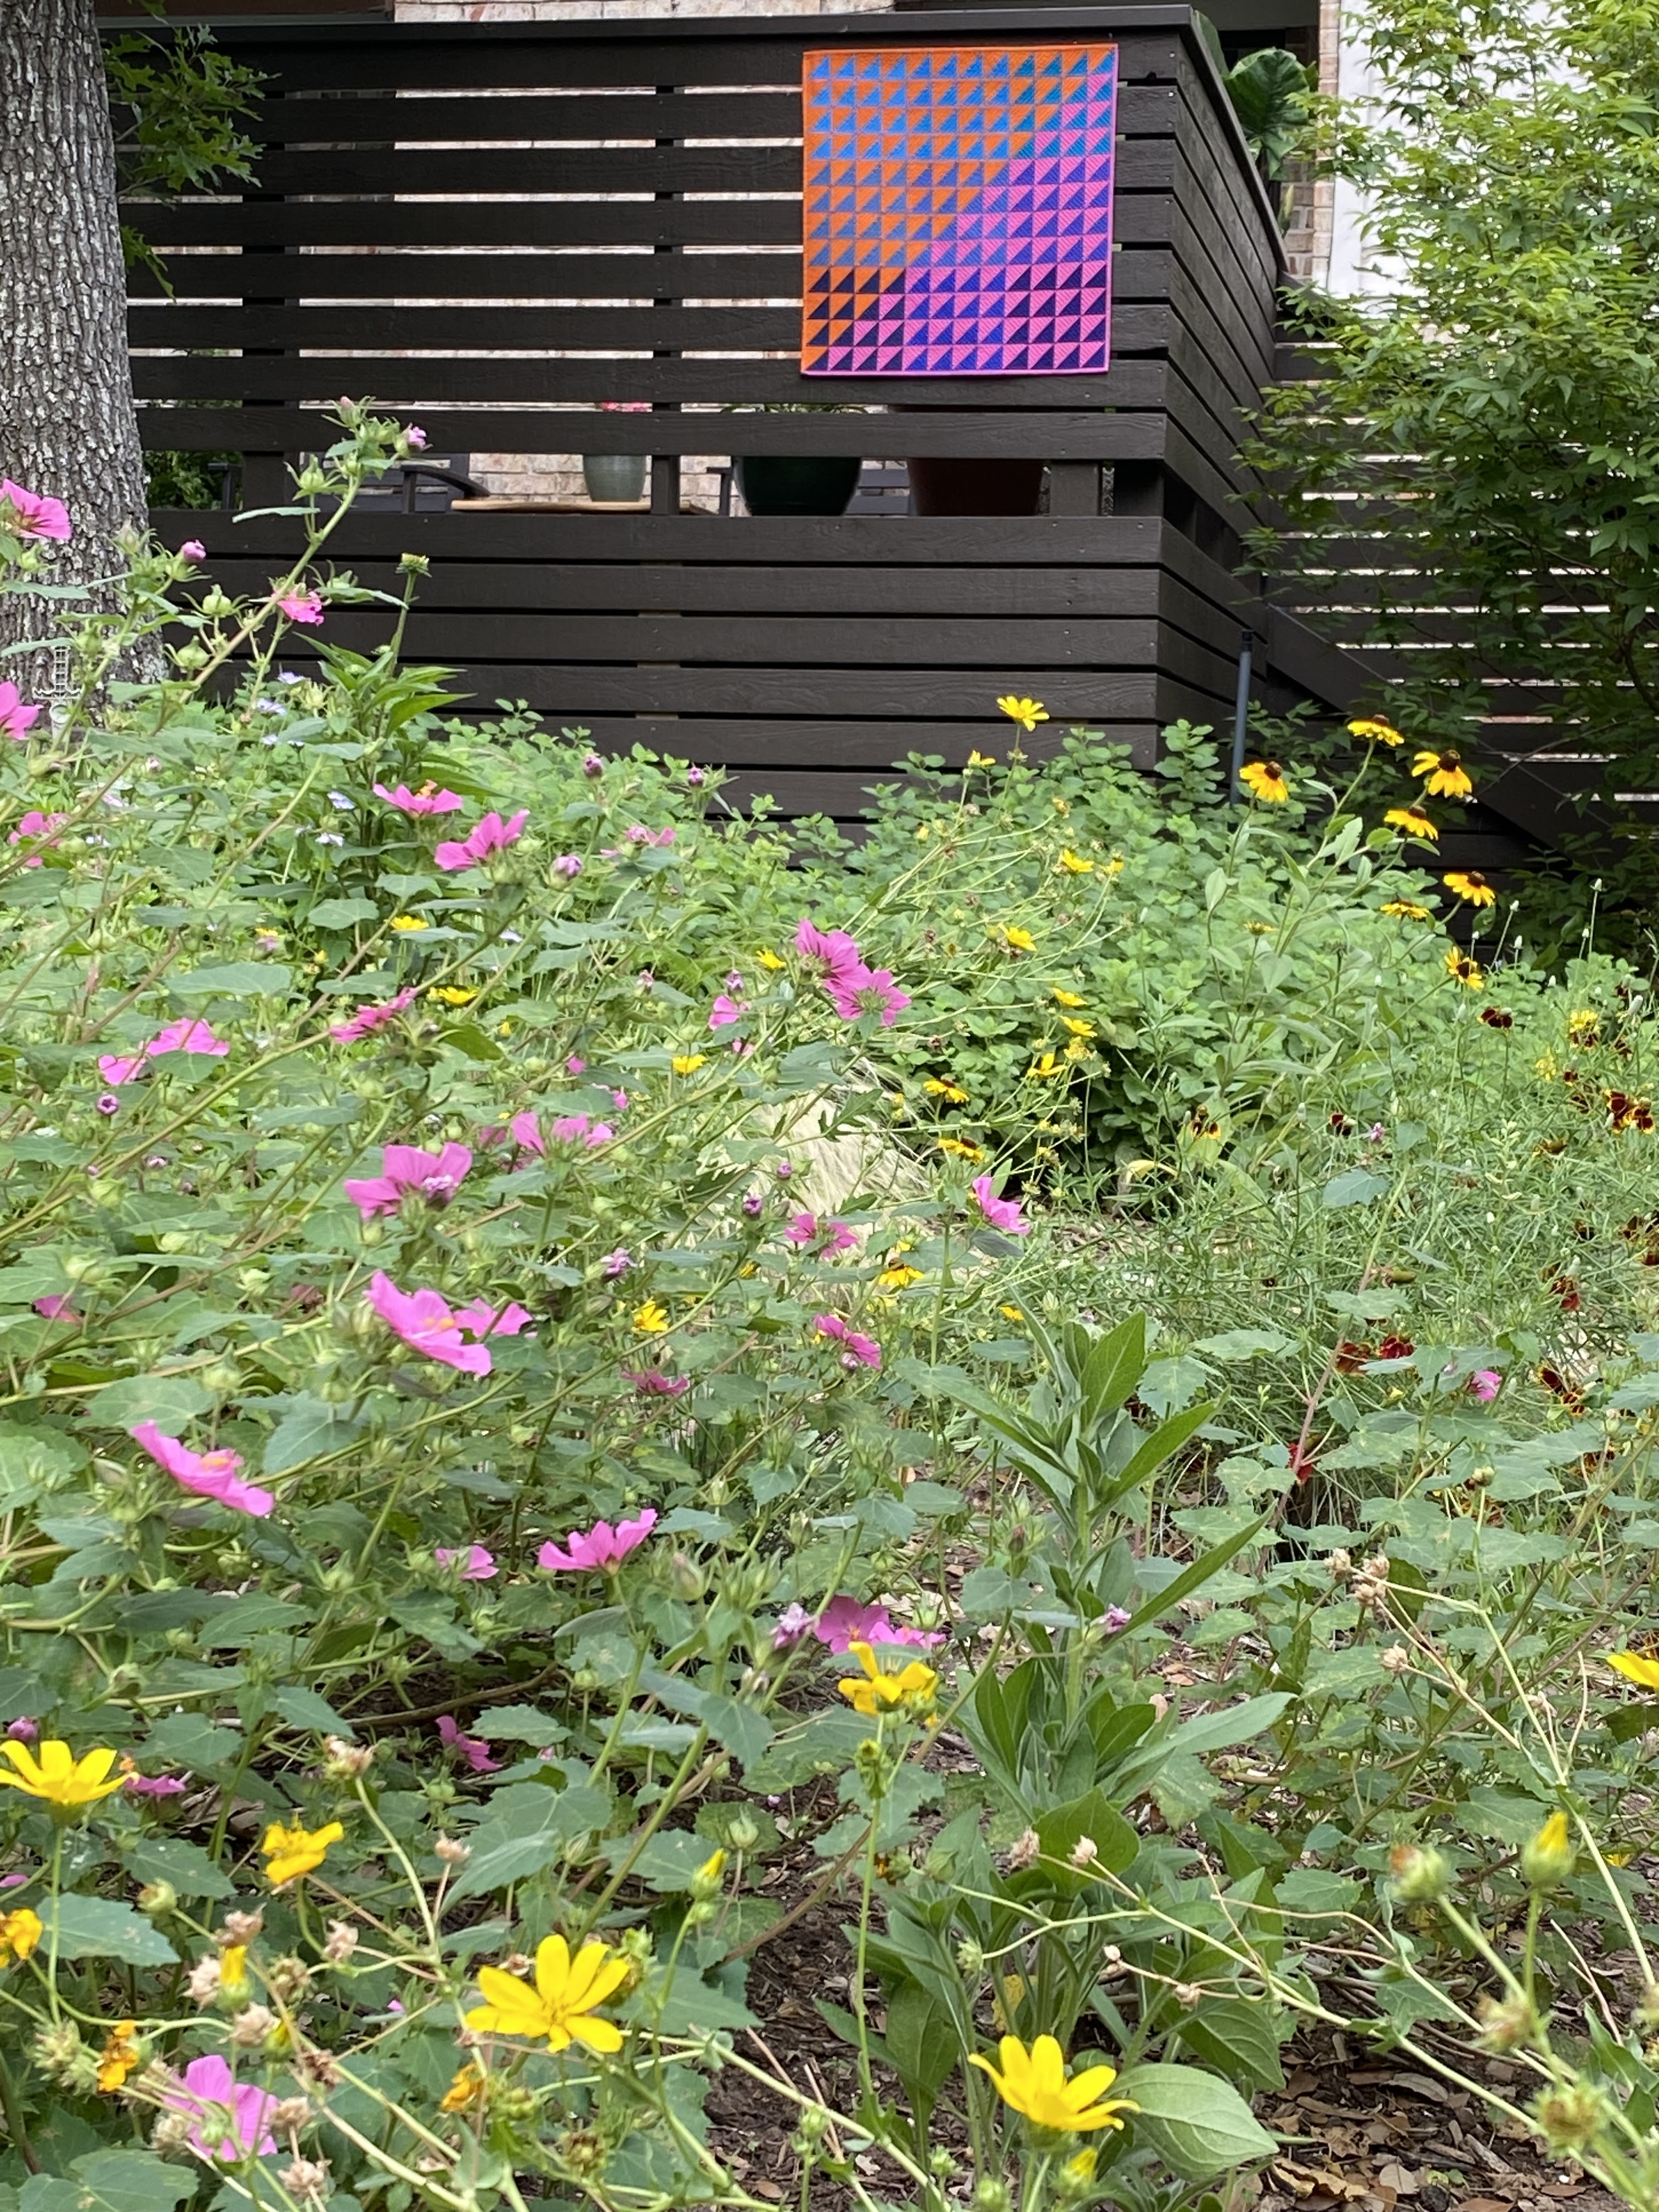
In the wild, at Bull Creek

This one was an experiment to use HST to make a quilt with a reference to log cabin blocks. I think this variation of log cabin is called square in a square. I learned a lot making this quilt. I thought I could imagine what it would look like when I picked the color palette and started. It did not look like what my head imagined, which was both interesting and frustrating. 

Also, I continue to fight with photography of art that has both blues and oranges in it. I can usually get the exposures right if I shoot outside. That was not the case here. If I adjust settings to make the blues look right, then the oranges are wrong. And, if I get the oranges right, then the blues are wrong.  Also, some of the fabrics bounce light differently than how they look in real life. ???? What's that about? I used to shoot in the RAW camera mode, which was excellent, but my computer got corrupted and I don't have a way to process RAW images now. I should probably explore that more and find a new program that I can download and use. And, I will also probably reshoot the finished quilt and put a more color accurate photo in place of the one at the top, but not today...

The colors (below) more closely approach correctness when I shot some process photos in my studio while I was working. I really enjoy making different shapes while I work on sewing the blocks. When the blocks are completed is the BEST time to play with design!! This first one is called the big C. 


The next arrangement reminds me of those old tabletop rotary telephones.

Of note regarding design. When I made the center blocks, I was not expecting the yellow to look like an arrow pointing left. I think anyone with ANY experience with HST would know that, but I did not. I ultimately rotated the final design so that the yellow arrow would point right. And, I am still not sure why that mattered to me, but it did. When I finished the top for this one, I put it in a pile. I didn't really like the outcome, and was in no hurry to finish it. 
 
Later, when I made No. 4, I realized that it was the same size as No.2. And also, No. 4 did not appeal much to me either. So, I decided to cut the quilting work in half and make them a two sided quilt. One quilting motif, and two quilt tops quilted simultaneously.  Voila! This also went wrong in a number of ways which I will talk about when I get to posting about No. 4..... Suffice to say, that it did NOT decrease the amount of work.  Ha ha! I am still learning. And the learning is exciting regardless of the intention of the work. The 'failures' inspired me to keep working because I learned that I still had a lot to learn. 

Sunday, May 18, 2025

No. 1

No. 1
24" x 24"

Wow, it has been 6 months since my last post! I have been super busy creating lots of new quilts and I have not wanted to slow down from the making, to the documenting....a kind of working through my grief I suppose. 

It started with an idea that had been percolating for a long time (fyi, THAT idea would become No. 5). I was busy working on another project and didn't have time to start this one. And the longer I waited, the more ideas I had. I couldn't decide which one to make, so I decided to make all of them and at some point, pick my favorite, and make THAT one big. This would become a series I was not expecting. And, I am learning so much, about my work and about working in a series. It is not the linear path I was expecting. I am now on No. 14. 

Since the quilts were small, I decided to wait and quilt them until I finished the first ten. I am not sure that was a good idea, but it was fun quickly knocking out about a quilt top per week. I bought a king sized batting, and managed to fit all 10 quilts on it, cut them apart and start the quilting.
I planned to quilt the pink half in quilting lines that were perpendicular to the quilting lines on the orange half. Unfortunately, this left me with the big task of having to tuck in all of those pink thread ends. Annoying! But, I was really happy with the effect, definitely worth the effort.
The next problem, and one that I expected, was that the direction of the quilting lines distorted the shape of the quilt in weird directions. I did block it, but it was very challenging to make it square again. 

My last conundrum was the binding, as I wanted the mitered corner to change colors along the diagonal. It is already a little bit challenging to deal with the bulk of the fabric on a corner, but adding the extra seam allowance bulk was daunting. Then I remembered a sketch I made in a beginning quilt class about 30 years ago, and went searching for the sketch. It was right where I thought it would be! After some experimenting, I was successful in using the idea to make this work for me!

Love this shot of it in my garden. Quilts in the wild!