
80" x 80"

It is hard to believe that it has been 3 months since I have posted anything. I have been hard at work, but with other home improvement projects. Meanwhile, this little quilt had been bothering me. (See previous post.) I had 'finished' it, but I didn't really like it that much, and it felt unfinished. And it was blocking my creativity. Something needed to be done. Then I had a flash of an idea that I thought might work, so I did a mock up on Photoshop, and I LOVED it. Which just meant that now I had to DO it. I knew it would be a lot of work, and if you are interested, I will show you what I did below!
First step was removing the old facing on the top and bottom of the quilt. Easy!


The reason this looks so complicated on the photo is because there are actually two passes with the zigzag, one from the front, and the other from the back. And, they also neatly line up with the stay-stitching I did before cutting the quilt apart. On the back side, I used Mistyfuse on fabric strips first pressed right on top of the seam, and then I put the zigzag stitch on top of that.


After finding them all, I cut them to size.
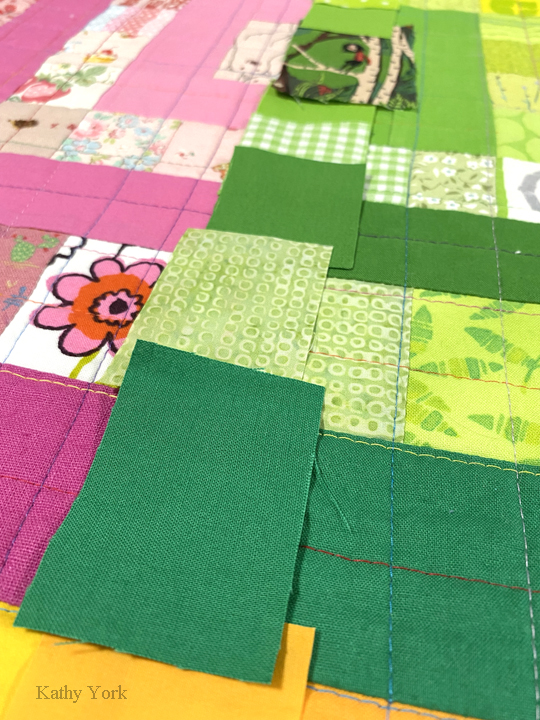
Then I chain pieced them together in a long strip.


To complete the illusion and also strengthen the seam even more, I decided to extend the existing quilting lines on top of the cover strip. It was about this time I was starting to question using so many different colored thread choices. I think I used about 45 different colors. Nuts!
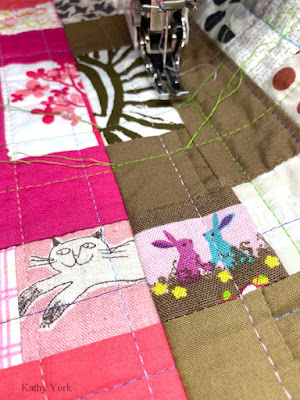 There were some vertical lines, but most of the new quilting lines were horizontal, spaced approximately 1" apart on 4 different seams. It made for a lot of thread ends to tuck in. I didn't think I would ever finish, even though I was so close to the end!
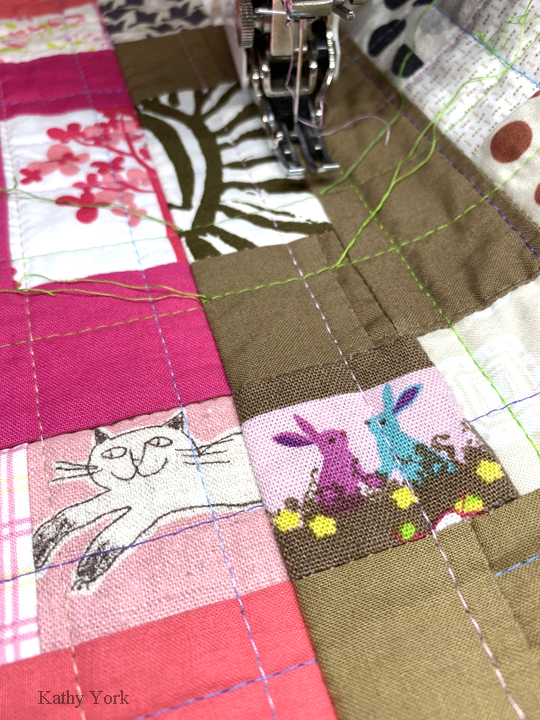
The illusion is complete! Here is a closeup detail of one of the seams.

This work not only cured my creative slump, but it also gave more meaning to me and it feels more authentic. A lot of the fabrics used in this quilt are children fabrics. I love them!! It not only reminds me of the fun I had as a kid, but also the joy I had parenting my children when they were young. The cut apart blocks remind me of when my marriage broke apart. A broken home represented here by a cut apart log cabin block. Once again I am in awe of the process of quilting and how it connects deeply with a part of my life. In this case, with lots of effort and attention to detail, the quilt was reformed in a beautiful fashion. I like to think the same thing of coparenting and raising our kids, that with lots of effort, attention to detail, and hope, it can be done beautifully.
Last if you are wondering how bright this quilt really is? Here is a photo of it in front of my house on an overcast day.
