What's Next
64.5" x 64.5"

This one gave me a perfect distraction and escape this last year while taking care of my mother. It was one of those projects that you could work on for just a few minutes a day, and still feel like you were making progress. I wanted something big and modern for the wall in my studio, and this looks WONDERFUL there!
The sections represent different stages of my life. I am wondering what is next in my life as I navigate a world without my mother. The grief so far has been hard to bear, it just leaks out unexpectedly. However, if I were to guess, when more time has passed, I think my next stage will have some joy, as that is part of who I am.
The sections represent different stages of my life. I am wondering what is next in my life as I navigate a world without my mother. The grief so far has been hard to bear, it just leaks out unexpectedly. However, if I were to guess, when more time has passed, I think my next stage will have some joy, as that is part of who I am.
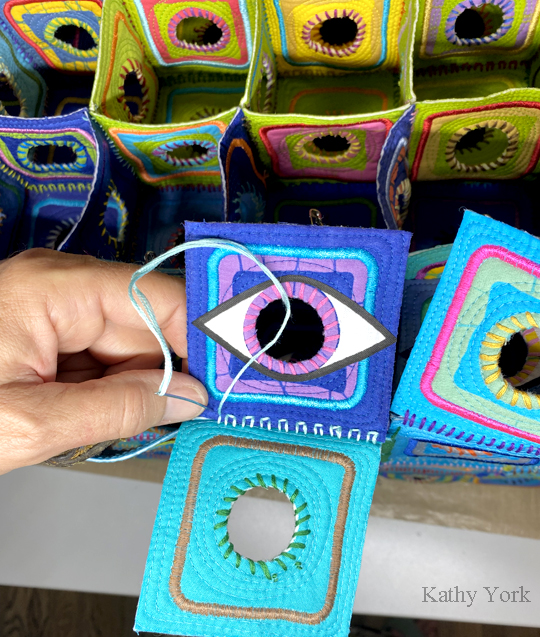
I usually start with a color palette. This got me into some trouble because I originally started with the idea to change the color palette for each section. I ended up hating what I was making, so I stripped out the inner corner, and decided to stick with the original color palette for the entire quilt. I kinda love the new inner corner now. Perfect!

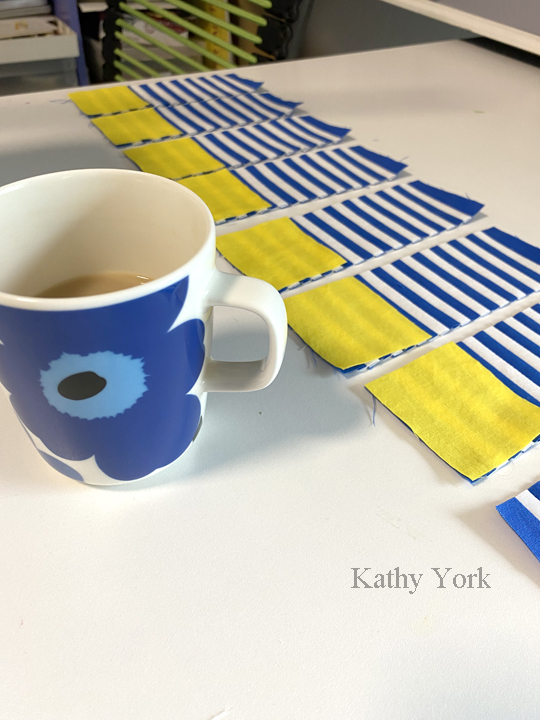
I also had to laugh because my color palette matched the color of the flower pin heads!

In the beginning I was cutting individual pieces of fabric and stitching them together.


Sewing the last strips on,


 I still need to take a photo of it hanging in my studio. I hung it as soon as I put the hanging tube on. It looks marvelous with my red Ikea couch!

A few close ups of the quilting.