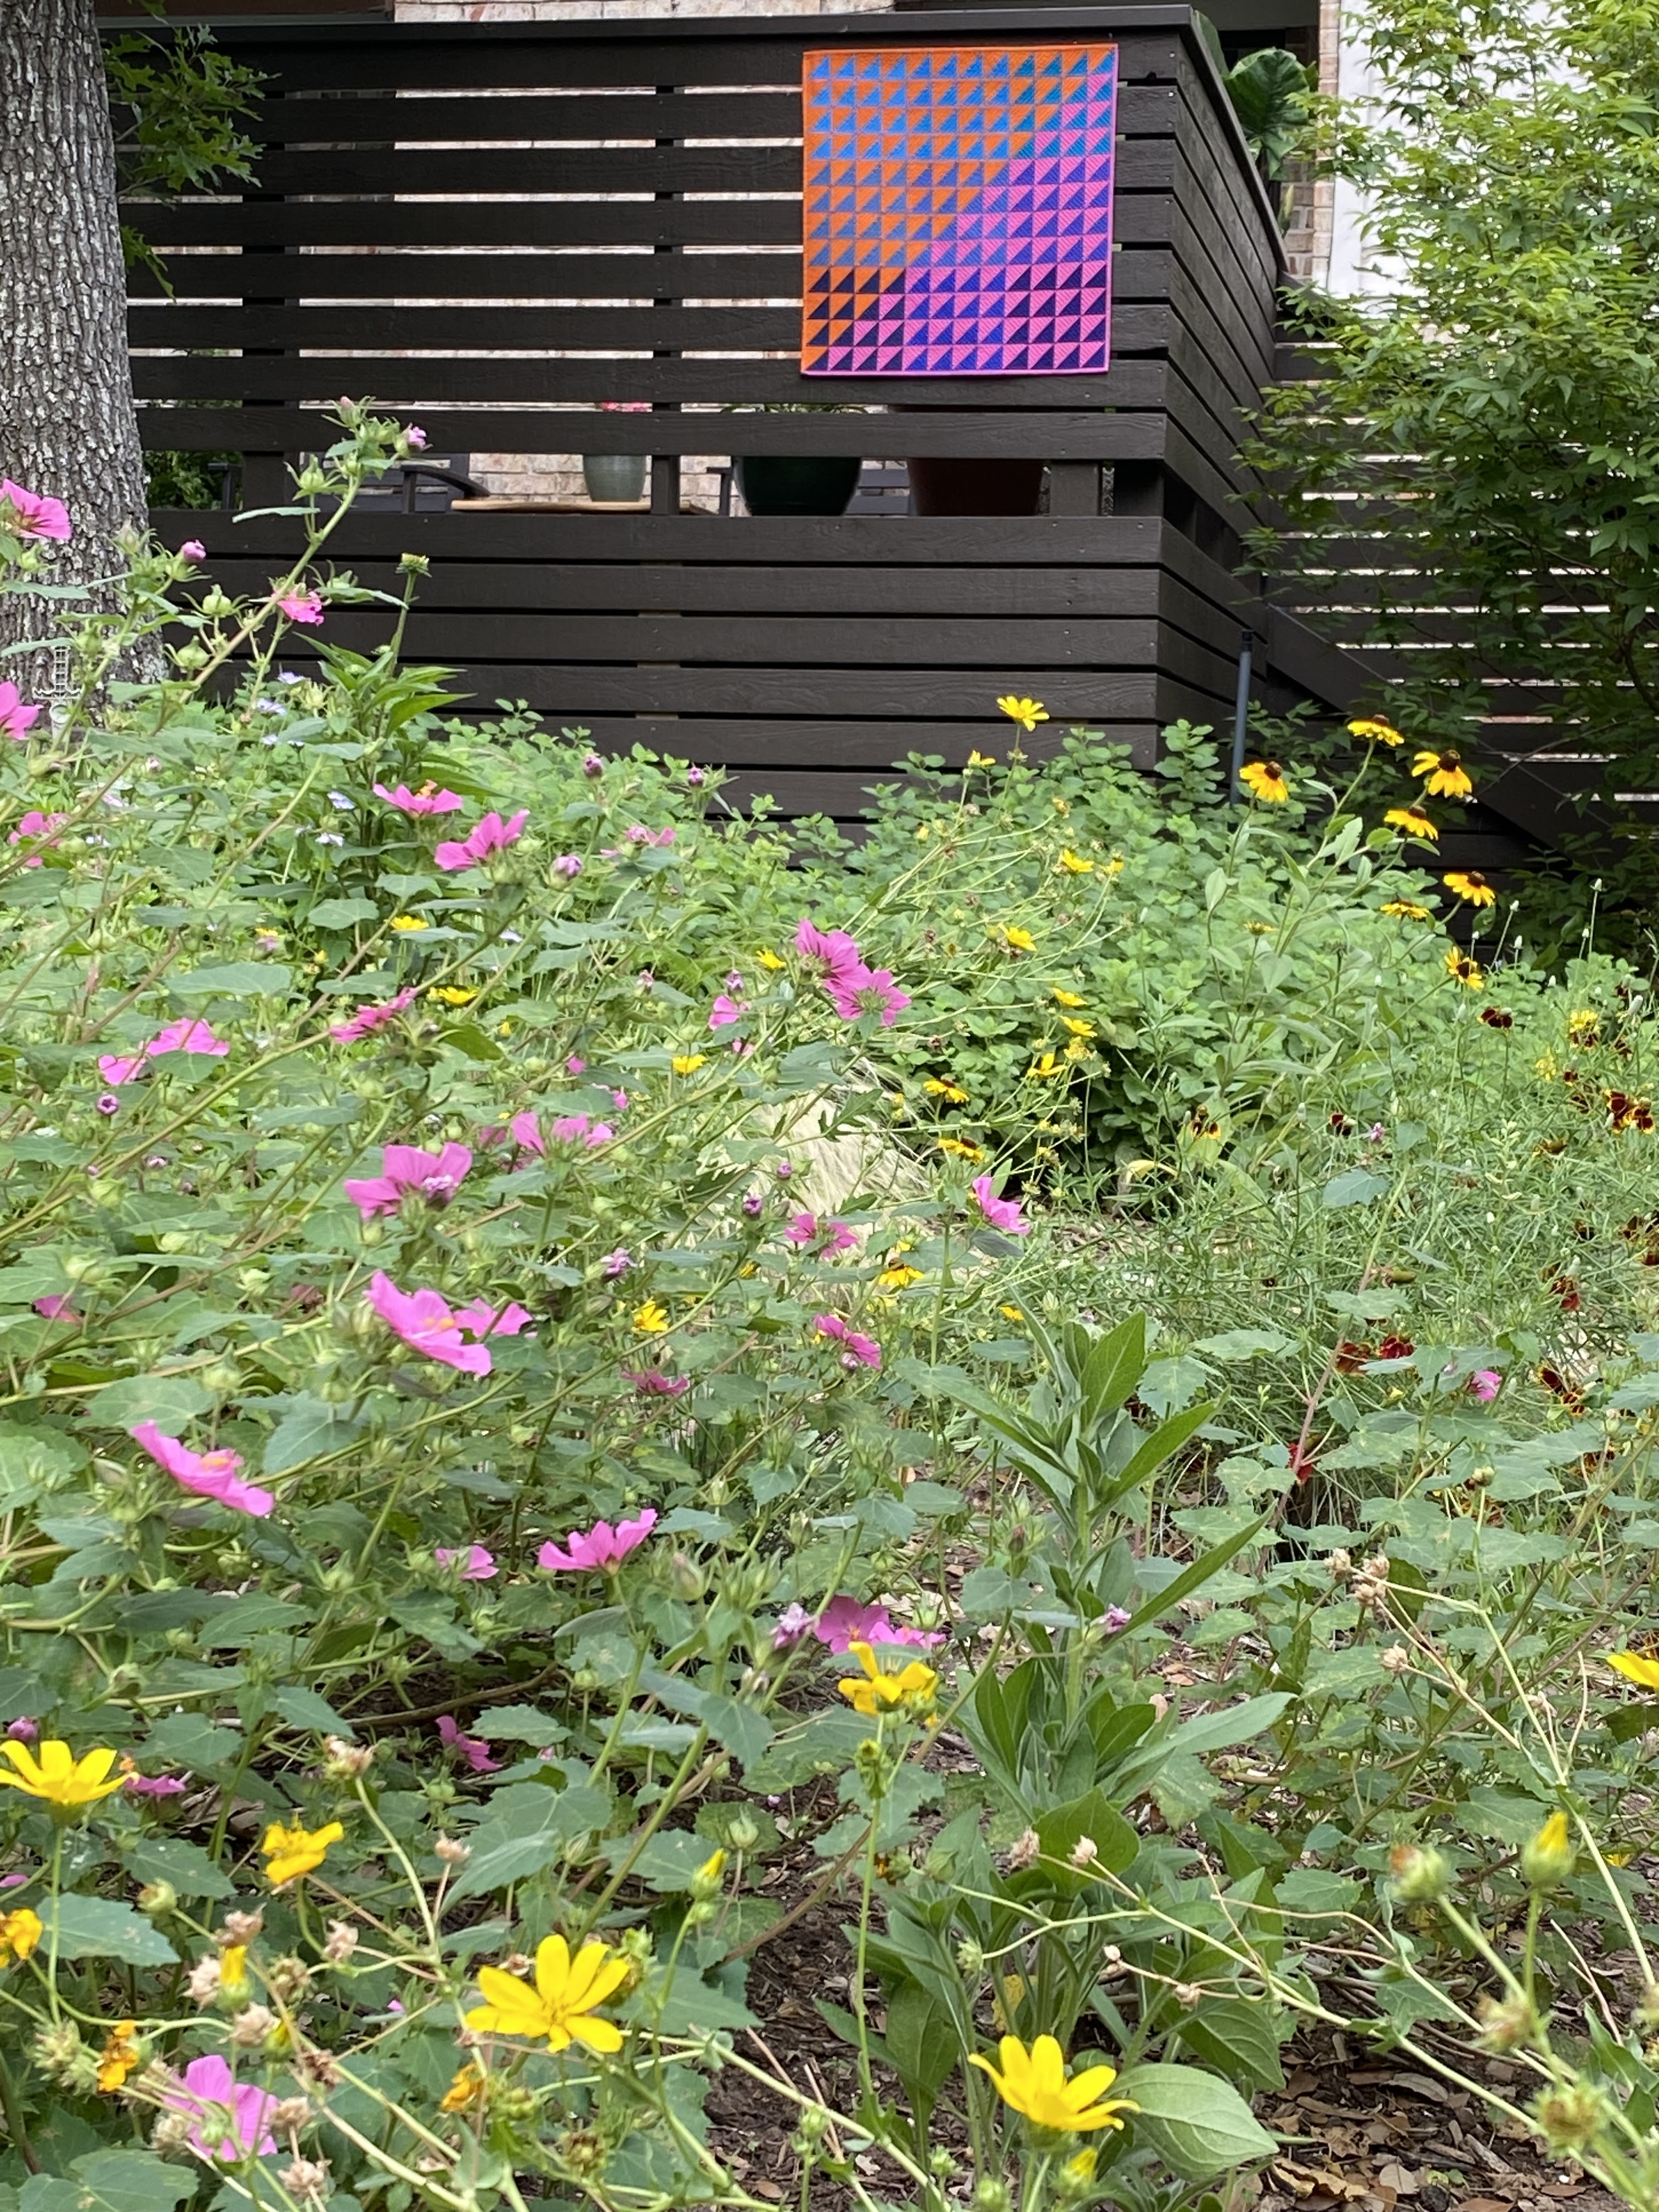
Sunday, May 25, 2025

No. 2
45" x 45"

This one was an experiment to use HST to make a quilt with a reference to log cabin blocks. I think this variation of log cabin is called square in a square. I learned a lot making this quilt. I thought I could imagine what it would look like when I picked the color palette and started. It did not look like what my head imagined, which was both interesting and frustrating. 

Also, I continue to fight with photography of art that has both blues and oranges in it. I can usually get the exposures right if I shoot outside. That was not the case here. If I adjust settings to make the blues look right, then the oranges are wrong. And, if I get the oranges right, then the blues are wrong.  Also, some of the fabrics bounce light differently than how they look in real life. ???? What's that about? I used to shoot in the RAW camera mode, which was excellent, but my computer got corrupted and I don't have a way to process RAW images now. I should probably explore that more and find a new program that I can download and use. And, I will also probably reshoot the finished quilt and put a more color accurate photo in place of the one at the top, but not today...

The colors (below) more closely approach correctness when I shot some process photos in my studio while I was working. I really enjoy making different shapes while I work on sewing the blocks. When the blocks are completed is the BEST time to play with design!! This first one is called the big C. 


The next arrangement reminds me of those old tabletop rotary telephones.

Of note regarding design. When I made the center blocks, I was not expecting the yellow to look like an arrow pointing left. I think anyone with ANY experience with HST would know that, but I did not. I ultimately rotated the final design so that the yellow arrow would point right. And, I am still not sure why that mattered to me, but it did. When I finished the top for this one, I put it in a pile. I didn't really like the outcome, and was in no hurry to finish it. 
 
Later, when I made No. 4, I realized that it was the same size as No.2. And also, No. 4 did not appeal much to me either. So, I decided to cut the quilting work in half and make them a two sided quilt. One quilting motif, and two quilt tops quilted simultaneously.  Voila! This also went wrong in a number of ways which I will talk about when I get to posting about No. 4..... Suffice to say, that it did NOT decrease the amount of work.  Ha ha! I am still learning. And the learning is exciting regardless of the intention of the work. The 'failures' inspired me to keep working because I learned that I still had a lot to learn. 

Sunday, May 18, 2025

No. 1
24" x 24"


Wow, it has been 6 months since my last post! I have been super busy creating lots of new quilts and I have not wanted to slow down from the making, to the documenting....a kind of working through my grief I suppose. 

It started with an idea that had been percolating for a long time (fyi, THAT idea would become No. 5). I was busy working on another project and didn't have time to start this one. And the longer I waited, the more ideas I had. I couldn't decide which one to make, so I decided to make all of them and at some point, pick my favorite, and make THAT one big. This would become a series I was not expecting. And, I am learning so much, about my work and about working in a series. It is not the linear path I was expecting. I am now on No. 14. 

Since the quilts were small, I decided to wait and quilt them until I finished the first ten. I am not sure that was a good idea, but it was fun quickly knocking out about a quilt top per week. I bought a king sized batting, and managed to fit all 10 quilts on it, cut them apart and start the quilting.
I planned to quilt the pink half in quilting lines that were perpendicular to the quilting lines on the orange half. Unfortunately, this left me with the big task of having to tuck in all of those pink thread ends. Annoying! But, I was really happy with the effect, definitely worth the effort.
The next problem, and one that I expected, was that the direction of the quilting lines distorted the shape of the quilt in weird directions. I did block it, but it was very challenging to make it square again. 

My last conundrum was the binding, as I wanted the mitered corner to change colors along the diagonal. It is already a little bit challenging to deal with the bulk of the fabric on a corner, but adding the extra seam allowance bulk was daunting. Then I remembered a sketch I made in a beginning quilt class about 30 years ago, and went searching for the sketch. It was right where I thought it would be! After some experimenting, I was successful in using the idea to make this work for me!

Love this shot of it in my garden. Quilts in the wild!